Showing posts with label BOMs. Show all posts

Sunday, March 23, 2014

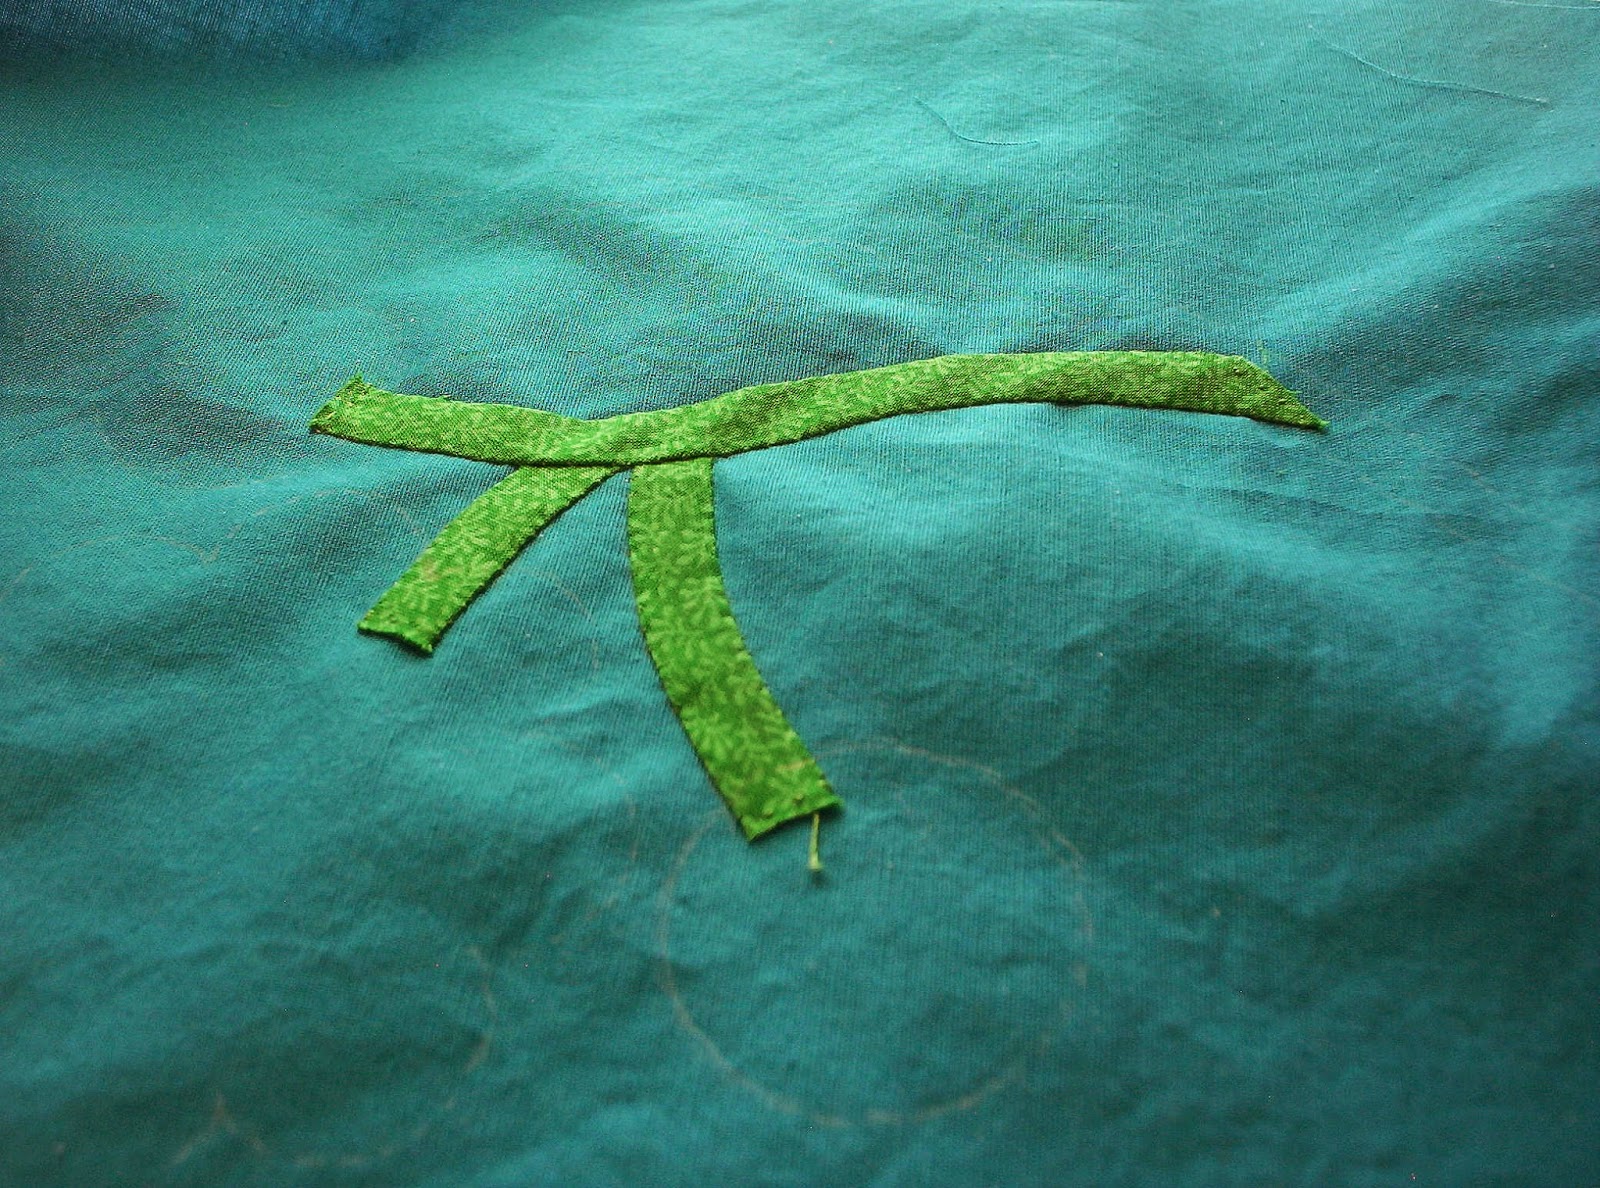
HELP! I've Got Puckered Stems!

WHY?
See the ripple at the top of the blue?  This is caused from my bias stems that have been sewn down.
Yes, I cut them on the bias and used Elmers glue to attach them.

See here…..more ripples!  
I have wondered on many reasons why.
Are my stitches too close together?
Am I pulling too tight?
( I am stitching like Piece O Cake method )

Doesn't seem to matter if the stems are really long or short.
This short stem is puckered AND twisty looking!

BUT…..my numbers here, and everything else stitches up nicely and lays pretty flat.

WHY?
Does anyone have some I-dees on how I can remedy this issue?

I think it will quilt out ok but….

I DON'T LIKE IT!

I know there are some GREAT hand appliqué-ers  out there that might have the answer!!


Sewing down this cute little bird on the 4th border is next!!!  YIPPEE!

Sunday, March 2, 2014

Webbing My Quilt Top

Have you tried this method when it comes time to sew your whole quilt top together???
This will be the first time for me.

Here is how it looks before you finish sewing the horizontal rows together.  My instructions for
this quilt uses this method but I have seen it before over on
Quiltvilles website.  You can see the "how to"
HERE

The jury is still out for me on this process.  I didn't particularly like manhandling the WHOLE top
ever time I sew a seam.  


Pressing was cumbersome.  I did scoot my ironing board over next to another table I have to help hold up the top.  I also found if your not careful you can distort some of your blocks
with the back end of your iron catching and
pulling some of the blocks.  You just
have the whole weight of the top pulling from the tiny chain piecing you did.

The main purpose is to help you from getting your blocks and pieces mixed up on the way to
your sewing machine from your design wall.

Of course, anytime you try something new and different it seems wrong and uncomfortable.  Mizz
Bonnie Hunter is an ole pro at this and so it seems right for her (and others).

I won't say I won't try this again.  Perhaps next time I will HALF the quilt and use this 
method in 2 halves.

The main goal regardless of the method is to have a completed top all sewn together.
Here it is….(the middle part anyway) YIPPEE!
I still have the hand appliqué borders to finish and as slow pokeeee as I am
that may be a little while longer, so I won't be showing
this again until later.

At least I have the hardest part past me.

This part measures 64" x 64".

Let me know if you have tried this method and what you thought!

Sunday, February 23, 2014

THIS was SCARIER than SCARY!!!

HORRIFIED is the best description I can give for what I just went through!!!

I had to mutilate…uh…I mean trim out the corners on these blocks!!!
Oh My Goodness what a STRESSFUL event!!

WHAT….IF…..I….DIDN'T….CUT….THEM….CORRECT??!!

I guess I will know the answer to that question when I pin and sew on these arcs.
I will be holding my breath!!

This cute little bird that is part of the top border for this quilt made me feel so happy and
helped me to calm down from the stress and horror of what
I just went through.

Who knew quilting could be so painful?!

HA!

"Just get over it" some of you say….. and "get on with it you wimp!!!"

I AM!

I AM!

Tuesday, February 4, 2014

I Was Scared!!!

Hello again everybody!  The New Year started out with a bang of creativity for me.
I was moving and shaking.
I dug in the closet for tops that needed to be quilted.
I made a back for one ( previous post) and pin basted it together.
I had prepared tons of little tiny leaves and pieces for my Quilt Show BOM hand
applique' project.

Then BOOM!  The SICKNESS….the CRUD…..the PLAGUE hit!!!

I MISSED THE WHOLE LAST HALF OF JANUARY!!!
I was SOOOOO MAD!!
All my creative efforts came to a screeching halt!!!

WAH!
But all is well that ends well.  I am much better now (lingering cough).  I must
be better if I am thinking of re-arranging the furniture again! HA!!

 I decided to put all the parts of my BOM up on the design wall.  I had not seen the parts all together.  As I finished each piece I just put them in the drawer with all the other parts.
oooouuuuu……aaahhhhhh
I.LIKE.

Then I decided to try my hand at soaking out the glue on one of the 4 main appliqué' blocks.
I filled a little tub
AND
THEN
I WAS SCARED!!!!
Yep, I was too scared to put it in the water.
My stomach hurt, I paced the floor holding the cute little block in my hands.
I'M SCARED!!!
I had never done this before!
BUT armed with the advice I researched online I became BRAVE!
I took a deep breath and threw it into the water fast as fast could be
before I changed my mind.


 Hey, whatever was wrong with me?  See, it looks so happy floating around in
it's little bath and there weren't any pieces or parts that
floated to the top!

Sigh….what a relief!!!!

OK…..now I'm feeling brave and strong and ready to charge on!


 I soaked the glue out of these too!!!  They are the cornerstones for the above top.

WOW, it was hard for me going into unknown uncharted waters, but I think it worked out ok!

I'M NOT SCARED ANYMORE……..

UNTIL I think about machine quilting that top I have all basted and ready to go.


my stomach hurts again


Saturday, December 14, 2013

Reverse Applique

How I reverse appliquéd my cornerstone blocks on my BOM from The Quilt Show
(shown HERE if you wanna see)….. and OF COURSE
I'm BEHIND!!
In my DEFENSE, I chose to HAND APPLIQUE this quilt instead of the MACHINE
appliqué the others are doing and that takes a
little longer.
Thanks to Margo's video instruction at The Quilt Show site I was able to do these and have them come out just great!!

 I did one BEEE-FORE I watched Margo's video….NO! NO! NO!  It was hard to do and it was humpy bumpy laying up on top! 
Whatever was I thinking!?!? 

 The ripping out was on!!

 I cut a template out of an old file folder and cut out where the star would go.
I just followed my pattern for this part.

 With a disappearing marker I traced the circle on the background following the template circle.

 Drew another circle about 1/2 inch from outer circle…..I just eye balled it.

 Cut on the inner circle line to create opening.

 Snipped snipped snipped all the way around.  Be sure NOT to snip through the line, just before it.  You need to leave a fraction there that will turn under.

 Paint liquid starch right on top of your marked line.

 Place your template on top ( i roughly eye balled this too, seems i do a lot of that) trying to line up outer edges.  The pins help to keep everything in place as you turn the edges over and press with a hot iron ( no steam ).

Oh look…..how CUTE!!

Gently remove template…fold background in half….finger press a crease to get 'line up' marks.

Time to play with the glue!!!  I dabbed a dot of Elmers school glue on each star point.

I placed my green background on top….lined up finger pressed creases with a top and bottom star point and then kind of worked the other star points around the circle MAKING SURE to have ALL star points 'POINTY' and still visible.  You sure don't want to have any chopped off looking points.

I used small pins in between the sections to secure what was not glued.  I guess you could glue all the way around if you wanted, but this worked great without the added glue.

All that's left to do is to appliqué it down.  You will do this from the top as I've tried to show here.
This part went fast too!

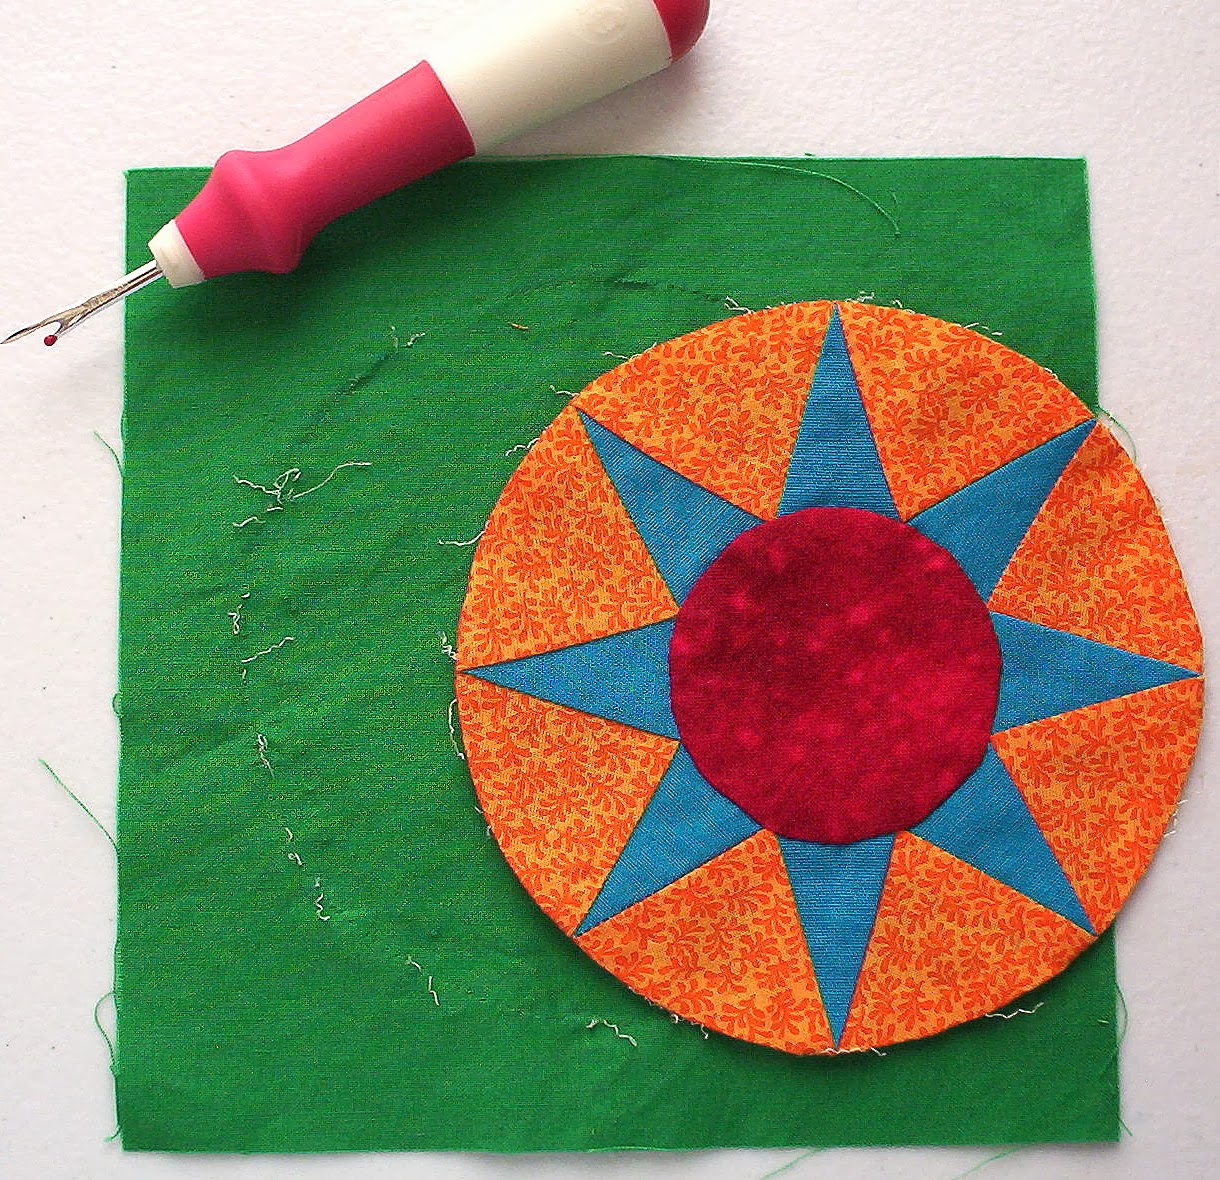
Here is a comparison photo.  The one on the left is the reversed appliqué….the one on the right is the YUCKY floatin' around up on top one.

In summary, the REVERSE APPLIQUE process was SOOOOO fast and easy I couldn't believe it.
And besides, I think it looks much much better, don't you!!

I hope this was easy to understand, if you think I've left anything out or you have a question you can reply and ask in the comment section.
I am a fairly NEW hand appliquer and anytime I can get some help from others I REALLY
appreciate it.  So THANKS again MARGO!


AND THEN WHAT HAPPENED?

A REWARD!
For a job well done!

 Apricot Pecan Fruitcake with Pistachio chasers!!!

Wednesday, May 15, 2013

28 Months Deserves A Reward

I've been working on a new project.  My REWARD for being sooooo good!!  Yep, the 4th of May was 28 w-h-o-l-e months since I've bought
any fabric!!!
Well, sorta.....when I hit the 24 month target I treated myself to a REWARD.

When I saw this BOM KIT The Quilt Show was featuring for 2013 I *swooned* and decided I HAD to have it!!  My *no fabric buying rebellion* just
flew right out the window!!
(click HERE to read my original post about how and why I started my *no* fabric buying *rebellion*)


I reasoned I had been good for 2 yrs. with no fabric purchases and it was time for a special
treat.  Don't you agree a girl needs some incentive to keep up her strength!! 

I've already sewn TONS of spiky paper piecing!  Woo Hoo, they look like orange
mountains with blue sky!

 Those spiky pieces are now sewn together to make the sashing between the blocks.

Cute *round thangs* are what I am working on today.  I only need 9......yeh!!!

I have other pieces and parts sewn together, but no photos yet!

This is a FABULOUS REWARD I gave myself!

Don't you agree!!!