Back in March I started a Clamshell quilt. See here and here. I Googled one day to see what was out there about the Clamshell - NOT MUCH.....but, I did come across Jossie's blog and discovered she was forming a CLAMSHELL CLUB.....YES, I joined!!! The last day of each month we post our progress. Today is the first post and I decided to give the tutorial everyone asked about in March when I first posted about it........SO......here goes! The above photo shows to pick your pattern. My Clamshell pattern measures 5 inches across it's very widest and is 6 inches long. If you clicked on the 2 here's above, you will find the history on where and when I got my pattern from.
 I made 2 patterns pieces just alike.....trimming the top seam allowance off of one. I use self laminating pages to help stabilize my pattern pieces.
 Using one of your patterns with all the seam allowances, trace onto your fabric, making sure you line up the grain of your fabric with the arrows on your pattern....very important!
 I use what they call a mechanical pencil...the kind you add your own lead to...for tracing my patterns. These pencils make very sharp thin lines. I also use a quilters Sandpaper Board to lay my fabric down for tracing. These are soooo great, your fabric stays put and doesn't pull or bunch up while you are trying to trace.
 Cut out using a small rotary cutter. The blade on this cutter of mine measures 1'' across.
 Now.....take your pattern that is minus the top seam allowance and line up the bottom edges.
 I simply used my left hand to hold down.........
 then I used my right hand index finger/fingernail to fold down the top edges to form a nice crease all along the rounded tops edge. You could also use a hard object like this small ruler to form you crease, but I found my fingers worked better and it was a lot faster.
 I usually started at the top/middle and worked my way all the way down.
 See the nice crease I made all along the top! You could then use a washable glue to tack it down......be careful......too much glue will make your fabric sooooo hard and stiff you won't be able to get a needle through it. There are some nice glue pens out there, but I am just using what I have on hand.
 Or your could hand baste it down like I've shown.
 I take one Clamshell and lightly fold in half at the top and bottom and line it up vertically using my creases as a guide to help line it up using the graph lines on my June Taylor mini ironing pad.....remember, at this point I am working from the backside. Take 2 other Clamshells and place as I've shown.
Using the graphed lines and 'eye-balling' the 2 pieces, you can line them up fairly straight. I am not overly concerned with having pristine straight rows......after all, who is going to 'whoop' out a straight edge to see if you are all lined up.
I am still 'mulling' over some other ideas to improve this step. I'll let you know if I work out something better.
 I then use small tiny sequin pins to attach my 3 pieces. I guess you could use glue here too....I've not tried!
UPDATE: I ended up using dots of glue to piece the clam shells together instead of using the pinning method. You must be careful not to use too much glue or get the glue too close to the edges for it will make the fabric hard and you will not be able to get a needle into it. I liked the glue method. It made the pieces stay together a lot better and there was no slipping around with your placement.
If you do get too much glue and it turns hard, I filled my washing machine with cold water and put my top in and just let it have a good soak to remove the glue. NO washing, just soak and then let your machine drain and spin at the end of the wash cycle. I then took it outside and laid it flat out on the grass in the sun and let it dry naturally. When it was dry I lightly pressed it to make it smooth so I could sandwich it with my batting and the back.
 Here is the side you will be hand stitching the pieces together. I simply try to match my applique threads with the printed Clamshell fabric and use a basic applique stitch. I start at the right hand side there and stitch down to the bottom middle and then back up again to the left hand side stitching the 2 muslin pieces to my vintage printed piece.
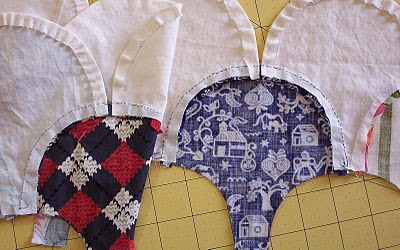 Here is a view of how your back side will look after you've stitched them together.
 I usually work in groups of 3's and 5 Clamshells. I find it is more 'portable' this way and can be good handwork when I travel. My design wall here shows you the different size groups I work with. When I have a more extended period of time to work on them I sew all the groups together to start forming my rows. So far, this has proved to be a very fast and easy system for me.
I hope this is clear and simple enough to follow. Please feel free to email with any questions you might have. OK.....I'm off to work on 'a few' before the day is over. Run over to Jossie's and check her sidebar and click on some of the gals who are also creating this little Clamshell project. HAPPY CLAMMING YA'LL!!!!


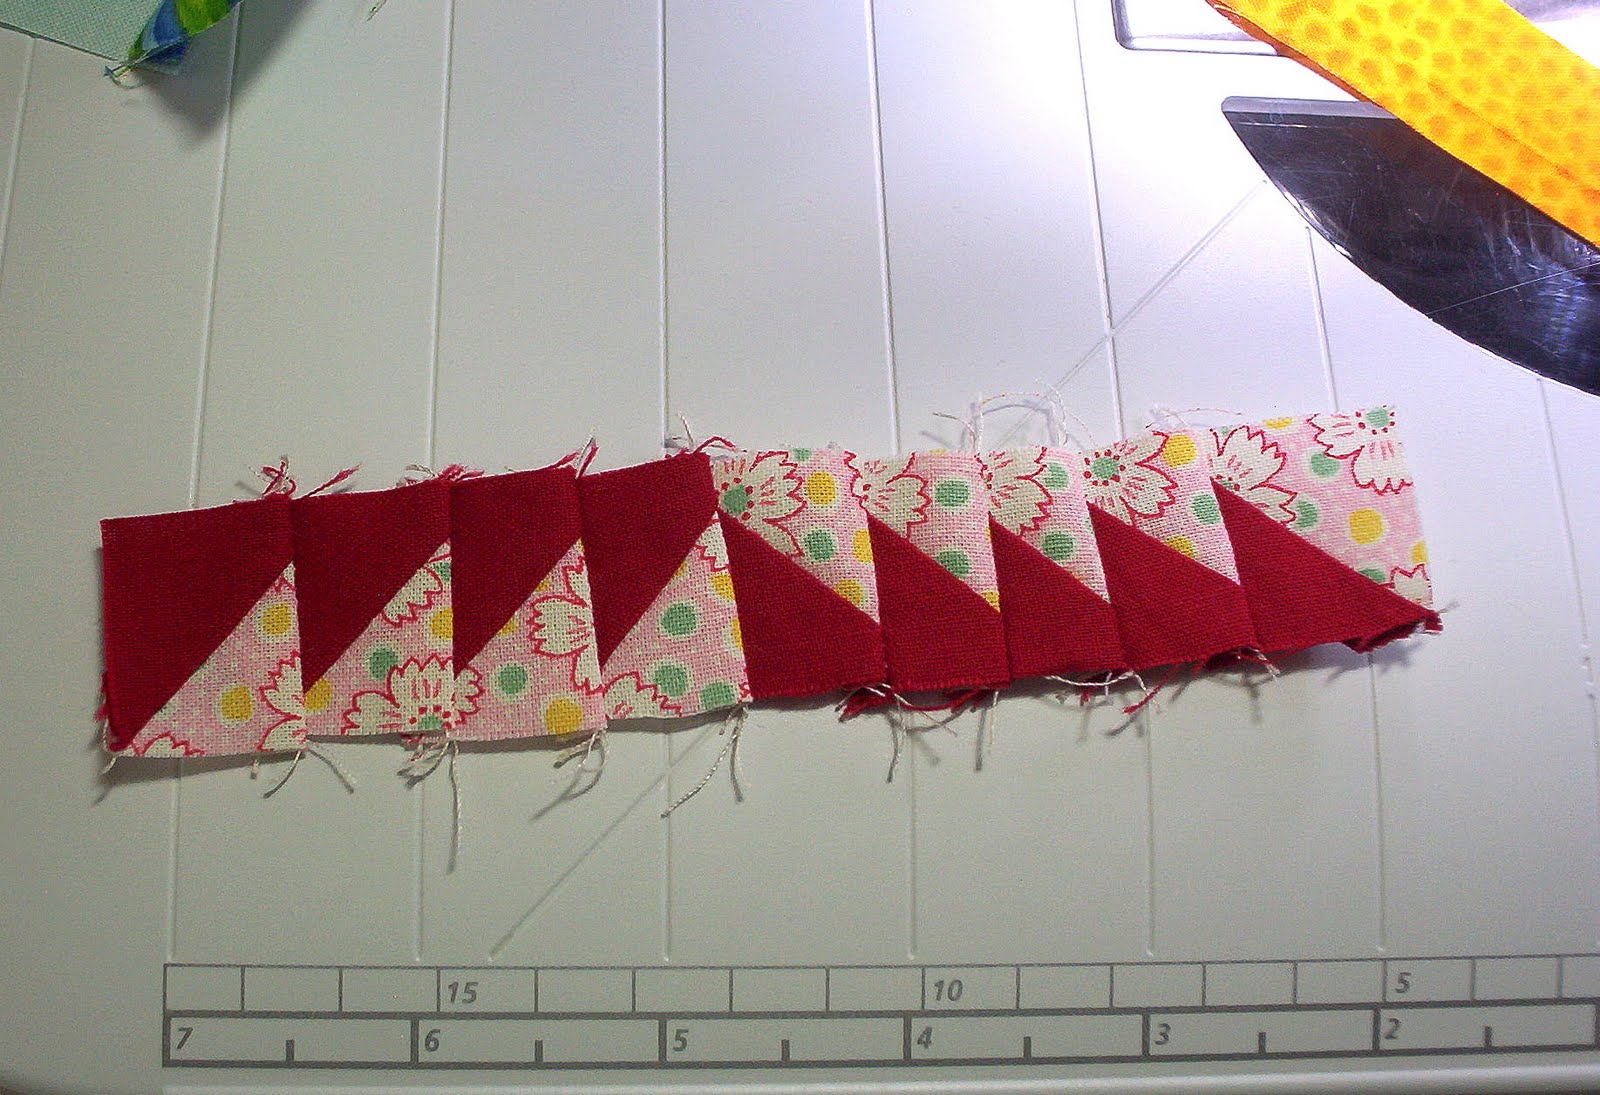
 You could sew up all reds.......oops......looks like a strip got in there with my crumbs.....that's ok to throw some of those in too.