Sunday, March 23, 2014

HELP! I've Got Puckered Stems!

WHY?
See the ripple at the top of the blue?  This is caused from my bias stems that have been sewn down.
Yes, I cut them on the bias and used Elmers glue to attach them.

See here…..more ripples!  
I have wondered on many reasons why.
Are my stitches too close together?
Am I pulling too tight?
( I am stitching like Piece O Cake method )

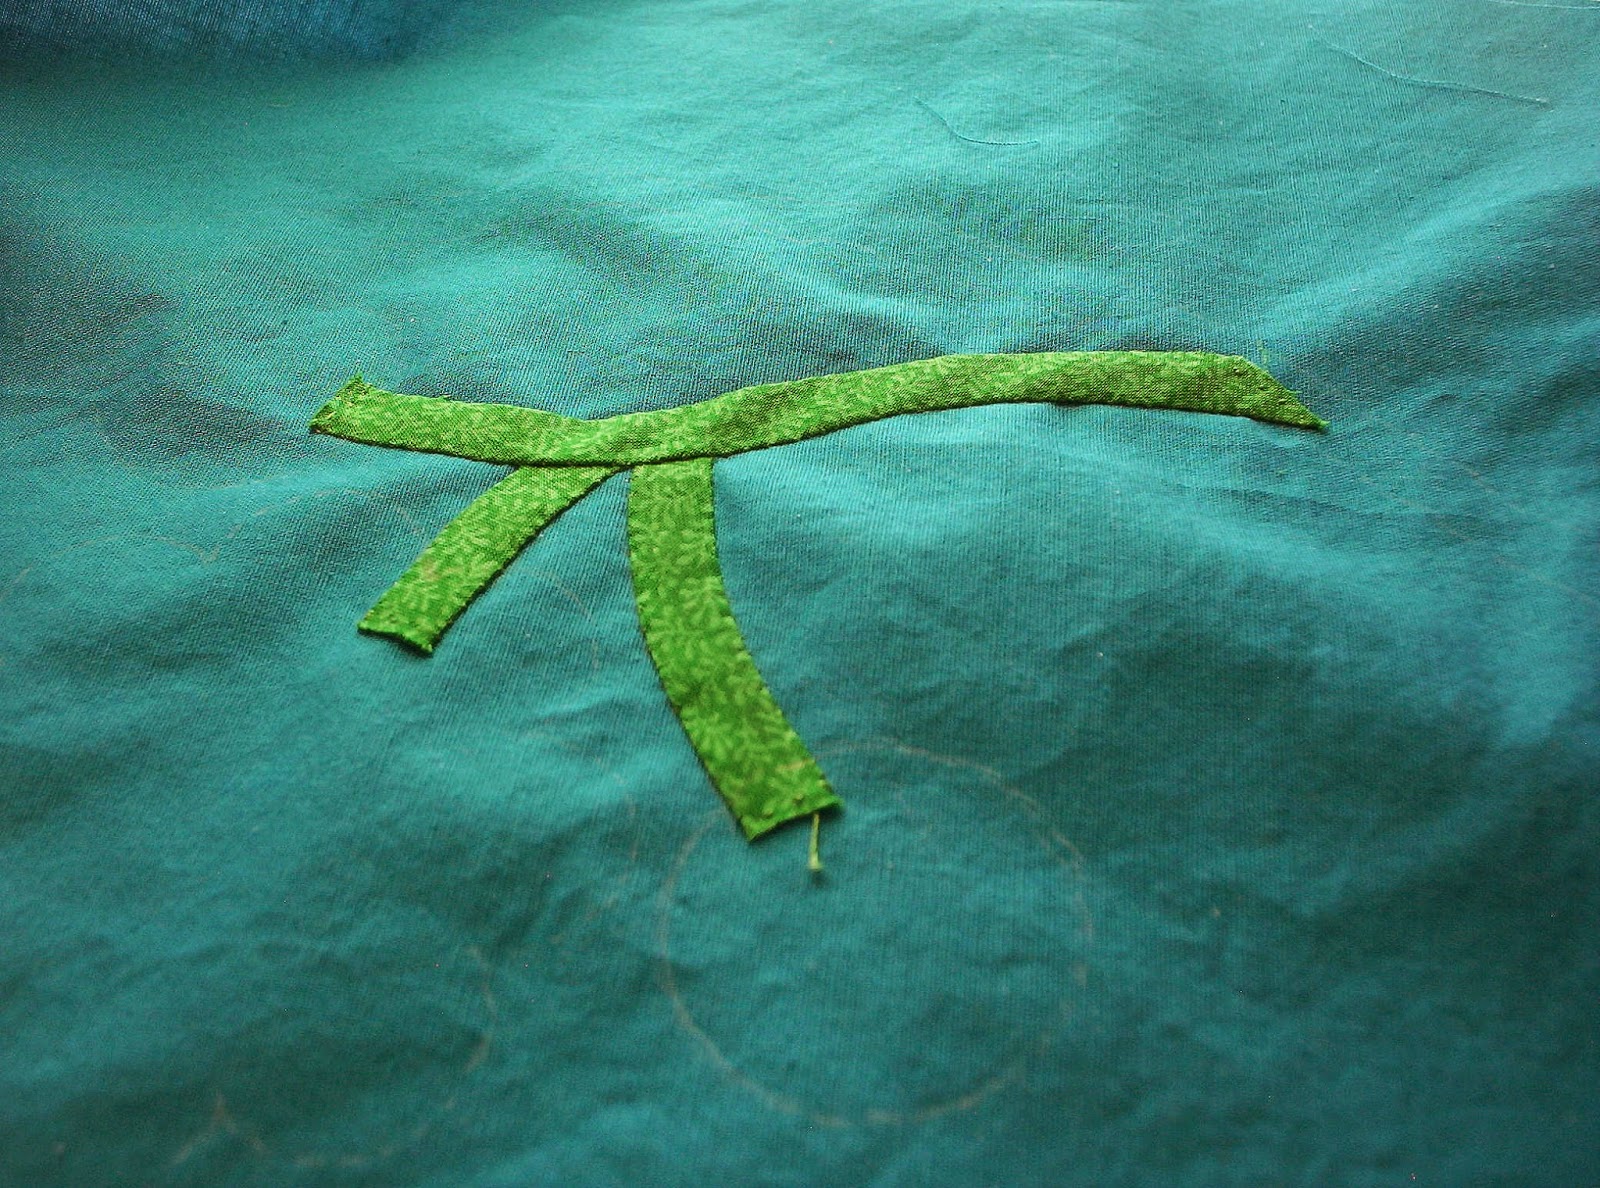
Doesn't seem to matter if the stems are really long or short.
This short stem is puckered AND twisty looking!

BUT…..my numbers here, and everything else stitches up nicely and lays pretty flat.

WHY?
Does anyone have some I-dees on how I can remedy this issue?

I think it will quilt out ok but….

I DON'T LIKE IT!

I know there are some GREAT hand appliqué-ers  out there that might have the answer!!


Sewing down this cute little bird on the 4th border is next!!!  YIPPEE!

Sunday, March 2, 2014

Webbing My Quilt Top

Have you tried this method when it comes time to sew your whole quilt top together???
This will be the first time for me.

Here is how it looks before you finish sewing the horizontal rows together.  My instructions for
this quilt uses this method but I have seen it before over on
Quiltvilles website.  You can see the "how to"
HERE

The jury is still out for me on this process.  I didn't particularly like manhandling the WHOLE top
ever time I sew a seam.  


Pressing was cumbersome.  I did scoot my ironing board over next to another table I have to help hold up the top.  I also found if your not careful you can distort some of your blocks
with the back end of your iron catching and
pulling some of the blocks.  You just
have the whole weight of the top pulling from the tiny chain piecing you did.

The main purpose is to help you from getting your blocks and pieces mixed up on the way to
your sewing machine from your design wall.

Of course, anytime you try something new and different it seems wrong and uncomfortable.  Mizz
Bonnie Hunter is an ole pro at this and so it seems right for her (and others).

I won't say I won't try this again.  Perhaps next time I will HALF the quilt and use this 
method in 2 halves.

The main goal regardless of the method is to have a completed top all sewn together.
Here it is….(the middle part anyway) YIPPEE!
I still have the hand appliqué borders to finish and as slow pokeeee as I am
that may be a little while longer, so I won't be showing
this again until later.

At least I have the hardest part past me.

This part measures 64" x 64".

Let me know if you have tried this method and what you thought!